
Get the job done right the first time with these essential insights on garage door installation kits. Whether you’re a Cedar Park homeowner tackling a DIY upgrade or seeking expert help, these quick, actionable tips will help you avoid mistakes, protect your investment, and ensure smooth operation for years to come.
- Invest in professional-grade tools for installation—quality gear boosts safety, precision, and durability, helping you avoid costly repairs down the line.
- Bundle with garage door installation kits to eliminate part mismatches and reduce install time by up to 30%, with all components designed to fit standard 7–8 ft doors.
- Prioritize measurement and alignment tools: A magnetic level and 25 ft tape measure are crucial for accurate fitting—skipping this step leads to headaches and repairs.
- Never skimp on safety gear—leather gloves, ANSI-rated glasses, and sturdy ladders are essential, with PPE costing $100–300 but preventing major injuries.
- Specialized spring and cable tools demand true expertise, as improper handling can cause serious injuries; call pros like Ahura for high-tension tasks.
- Routine lubrication and fastener checks add years to your door’s life—five minutes every few months keeps operation quiet and smooth.
- Custom-fit kits and pro advice matter for older or unique doors—always check panel style, measurements, and spring systems to avoid installation pitfalls.
- Calling Ahura Garage Doors ensures expert results and peace of mind, especially for complex spring work or non-standard projects—your safety comes first.
Every successful install starts with the right prep, reliable tools, and a safety-first mindset—explore the full article for detailed walkthroughs, time-saving checklists, and more pro tips from your local garage door experts!
Introduction
Ever find yourself halfway through a garage door project—only to realize you’re missing a key tool, or worse, you’ve installed something out of alignment?
You’re not alone. Nearly one in three homeowners in Cedar Park encounters setbacks or safety issues due to missing equipment or unfamiliar steps during garage door installation.
When it comes to a secure, quiet, and long-lasting garage door, the right tools and kits are non-negotiable. Cut a corner or grab the wrong equipment, and suddenly what should be a weekend upgrade can spiral into expensive repairs or real safety risks.
That’s where a little know-how—and the right gear—makes all the difference. A pro-level tool kit isn’t just about smoother installs; it’s about reducing frustration, avoiding injuries, and saving money down the line.
Here’s what you’ll find as you read on:
- Expert-recommended tools every Cedar Park homeowner should have on hand
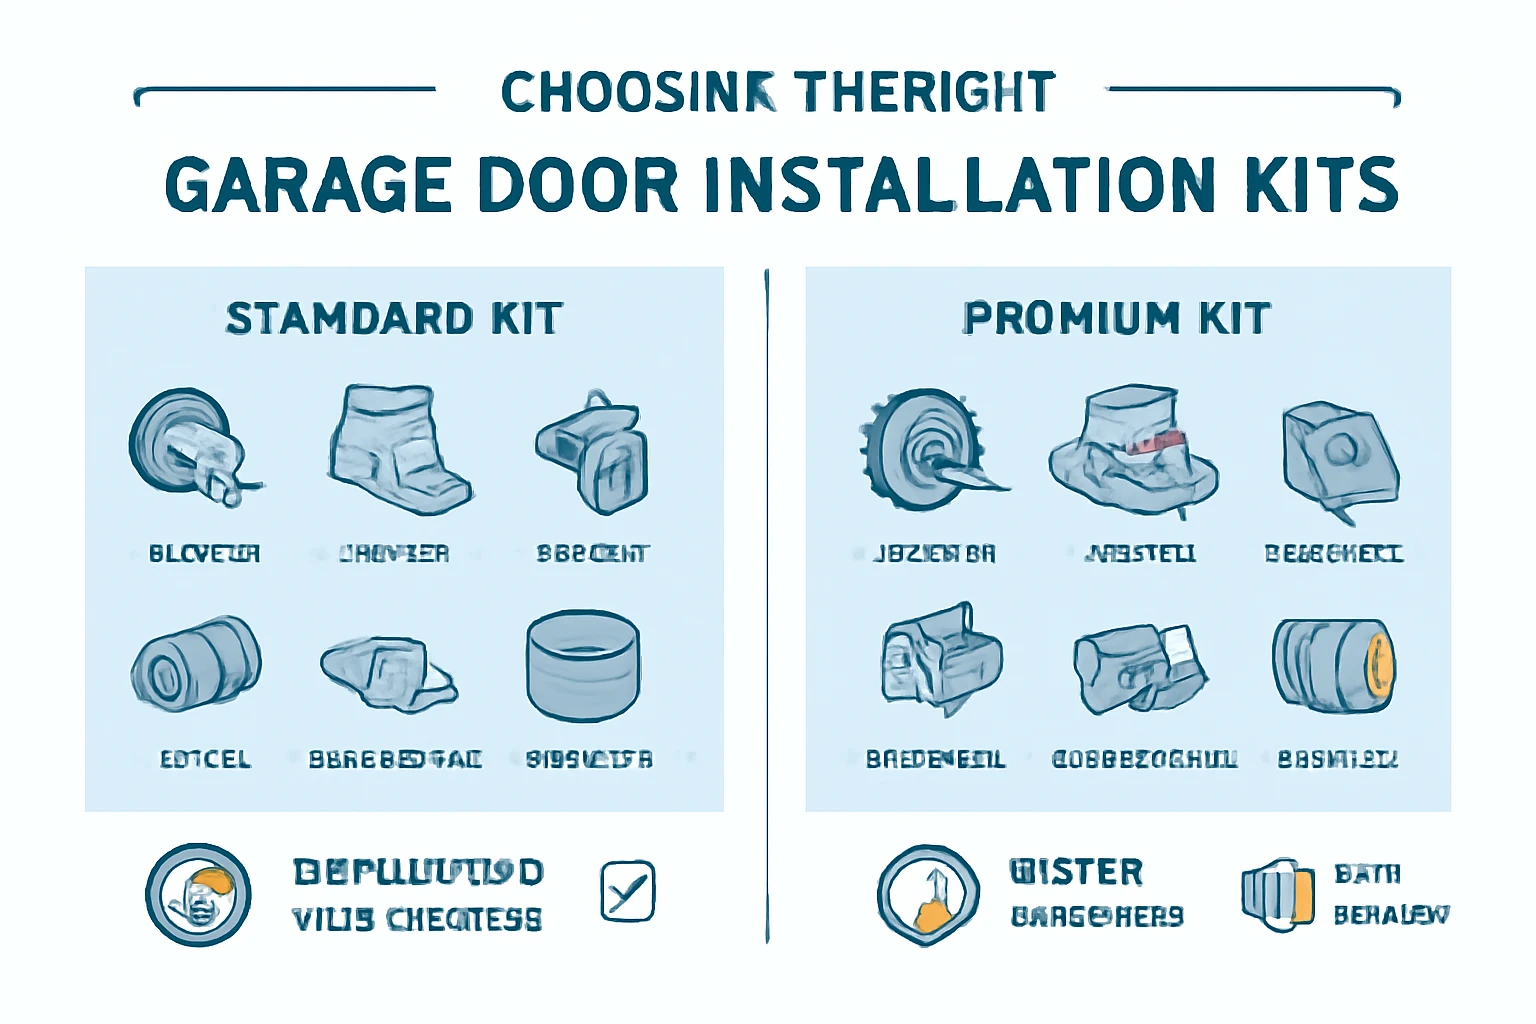
- The difference between standard parts and professional-grade garage door installation kits
- How to match kits and tools to your specific garage setup
- What to expect from a smoother, safer, and faster installation—and the peace of mind that comes with it
As “Your Garage Door Experts, Always at Your Service,” our mission is simple: Empower you with clear, up-to-date guidance so your next project is a breeze, not a headache. Whether you’re a hands-on DIYer or just want to understand what your installer’s doing, Arming yourself with expertise means avoiding common mistakes and knowing when it’s smart to call in the pros.
Ready to discover exactly which tools—basic and specialty—keep Cedar Park garages safe, silent, and sturdy for years? Let’s start by breaking down the essential equipment every quality installation relies on.
Understanding Essential Tools for Garage Door Installation
The right tools are non-negotiable for safety, precision, and speed in garage door installation. Using pro-grade gear creates a smoother, safer process—while cutting corners can lead to mistakes, or worse, injury.
Homeowners tackling a DIY job need most of the same essentials as the pros, but a few specialty items are strictly professional territory. Tool quality doesn’t just make life easier—it’s the difference between years of smooth operation and costly future repairs.
Ahura Garage Doors’ expert tip: Always choose well-made, reliable tools if you’re in Cedar Park. Never risk your safety to save a few dollars.
—
Tool Categories and Functions
Every tool category has a purpose:
- Measurement & Alignment: For accuracy and balanced installs.
- Fastening & Drilling: For robust, secure hardware.
- Gripping & Clamping: For holding parts steady and boosting safety.
- Lifting & Access: For safe ceiling work and handling heavy panels.
- Spring & Cable Tools: For high-tension systems (pro territory).
- Safety & Maintenance: For personal protection and smooth operation.
- Specialized/Optional: For unique doors or advanced installations.
Always use sturdy, calibrated tools—especially with doors weighing up to 450 lbs.
Measurement & Alignment Tools
Essentials:
- Tape Measure (25 ft)
- Magnetic Level (24-48 in)
- Hammer
- Pry Bar
Pro insight: Magnetic or locking features mean one person can measure, align, and fix with confidence—even in tight garage corners.
—
Fastening & Drilling Tools
Must-haves:
- Corded/Cordless Power Drills
- Ratchet/Socket Sets (SAE/metric)
- Screwdrivers (flathead/Phillips, magnetic tips)
- Adjustable Wrenches
- Impact Wrench (for stubborn bolts)
Pick quality tools to prevent stripped bolts and ensure long-lasting strength. Use the drill’s clutch to avoid overtightening—protecting both hardware and your investment.
—
Gripping & Clamping Tools
- Needle-nose/Lineman/Locking Pliers
- C-clamps or Vise-Grips
Locking pliers are your first line of defense during spring work—never skip this step. “Clamp before you crank” is a mindset, not just a method.
—
Lifting & Access Equipment
- Ladder (6-17 ft, non-slip feet)
- Lever Hoists (for professionals)
- Worm Drive Jack Kits
Always use “two ladders, two hands, zero shortcuts.” The right ladder size and stability are crucial for Cedar Park’s tall garage ceilings.
—
Spring & Cable Specialty Tools
- Winding Bars (18-36 in)
- Spring Tension Wrench
- Cable Swaging Kit
Only the highly trained should handle high-tension tools—danger is real and immediate. If you’ve never adjusted garage springs, call the pros at Ahura.
—
Safety and Maintenance Gear
- Leather Gloves
- Safety Glasses
- Lubricants (WD-40)
- Protective Footwear
PPE costs $100-300 and is worth every penny. Routine lubrication and gear checks ensure the door opens quietly for years.
—
Specialized and Optional Tools
- Skil Saw
- Trim Nailer
- Staple Gun (rounded staples)
- Door Scale Arm
Use these for custom designs, historic homes, or advanced retrofits that demand a perfect fit—and expert hands.
—
The big takeaway: Match your tools to your door’s weight, style, and your skill level. With the right prep and equipment, even a complex install becomes a safe, manageable task. If you’re ever unsure about a tool or a step, Ahura Garage Doors is only a call away—your safety and satisfaction come first.
If your current system shows signs of wear or alignment issues, explore our garage door repairservices before starting a full replacement project to avoid hidden structural problems.
Garage Door Installation Kits: Contents, Options, and Benefits
Looking to install a new garage door without making endless runs to the hardware store? Garage door installation kits bundle all the key components, streamlining the process for Cedar Park homeowners and ensuring every part fits together perfectly the first time.
Installation kits are designed for convenience—offering DIY-friendly bundles for standard home projects, as well as professional-grade kits with higher-spec hardware for smoother, quieter operation and longer life.
Standard Kit Components and Uses
Modern kits typically include all essentials sized for 7-8 foot high by 8-18 foot wide doors—the Cedar Park standard.
Picture this: You unpack your new kit, finding each part ready for its spot in the assembly, with no frantic part searches or compatibility worries.
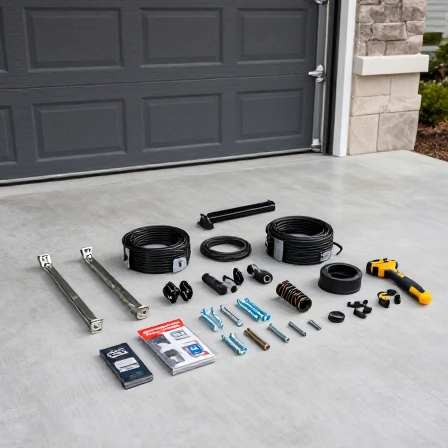
Inside a typical kit, you’ll find:
- Rollers (2″ nylon, 10-12 pieces): for seamless panel movement
- 16-gauge hinges (#1-#4): secure and align each panel
- Brackets (flag, jamb, bottom, top): for mounting tracks and panels
- Torsion drums, lift cables, end bearing plates: all needed for safe spring performance
- Handles, fasteners, and hardware: to finish the assembly and ensure durability
On average, a DIY-friendly kit reduces install time by 30% and matches the parts to pre-drilled holes on most doors—making even a first-timer’s project much smoother.
Add-ons and Upgrades in Installation Kits
Looking for more than just the basics? Many kits offer:
- Heavy-duty weatherstripping and insulated thresholds—perfect for Texas heat and dust
- Premium nylon rollers and reinforced hinges to cut noise and boost lifespan
- Opener mounting brackets for quick automation upgrades
For unique builds, you can find add-on packs or select just the premium hardware required—ideal for heavier doors, extra insulation, or advanced security needs.
Fitting Kits to Specific Garage Doors
Not all garages are the same. Always cross-check:
- Panel style compatibility: sectional, single-piece, or custom
- Dimensions: verify height, width, and thickness
- Spring system: torsion vs. extension hardware
For historic or non-standard doors in Cedar Park, Ahura Garage Doors recommends a quick consult—custom-fit solutions avoid costly missteps and keep your project on track.
Value Proposition: Kits vs. Piece-by-Piece Approach
Going the kit route means:
- No missed components—every bolt and hinge matches the directions
- Less confusion—parts laid out step by step for home installs
- Up to 50% fewer hardware store trips over buying a la carte
Kits shine for most projects, but unique or vintage doors may need a custom list. The team at Ahura is ready to help you find the perfect fit, every time.
Choosing a pre-packed kit is the fastest way to get your garage door installed right—the first time. For most Cedar Park homes, a quality kit means less stress, fewer mistakes, and a garage door that’s quiet, secure, and long-lasting.
Preparation: Getting Ready for a Safe and Smooth Installation
Getting your garage door installation off to the right start means nailing the prep—minimizing risk, confusion, and wasted time.
Before you ever lift a panel, set yourself up for success with a clear plan, a tidy work area, and the right gear within reach.
Picture this: your workspace is bright, tools lined up, and no clutter underfoot—now you’re ready to work confidently and safely.
Measurement and Assessment
Accurate measurement is non-negotiable for a smooth garage door fit, especially since standard doors range from 7–8 feet high and 8–18 feet wide.
- Use a 25 ft tape measure to check
- Door width and height
- Headroom (space above opening)
- Side room (space on sides for tracks)
- Confirm walls, header, and floor are plumb, level, and square with a magnetic level.
- Scan the opening and framing for:
- Old or damaged hardware
- Rotted wood or uneven surfaces that need repair before proceeding
“The fastest way to ruin a new garage door is by skipping the measurement or not leveling the opening—double-check every axis before you build.”
Gathering and Inspecting Tools and Kits
Before starting, lay out all your essentials to avoid searching mid-project.
- Unpack your installation kit and check off all included parts (rollers, hinges, brackets, fasteners).
- Inspect each tool:
- Power drill—check battery life or cord quality
- Hand tools (sockets, screwdrivers, wrenches)—examine for wear
- Safety gear—ensure gloves and glasses have no tears or scratches
Organize your kit and tools in reachable stations—less hunting, more installing.
If something’s missing, replace it before you’re on the clock.
“A missing clamp or dead drill battery can turn a two-hour job into an all-day headache.”
Setting a Safety-First Mindset
Your safety checklist:
- Wear: leather gloves, ANSI-rated glasses, sturdy footwear, and fitted clothing that won’t snag
- Ladders: set up two sturdy, non-slip ladders if possible—one for each end of the door
- Lighting: brighten your workspace so you’re not guessing where that small screw rolled
- Clamps & locks: always clamp both tracks and secure the door before adjusting springs or cables
Don’t get casual about tension—garage door springs are under hundreds of pounds of force, and mistakes cause thousands of injuries per year.
When in doubt, call in the pros at Ahura—your safety is worth more than any shortcut.
A well-lit, decluttered, and safety-focused workspace is the best insurance for a smooth and stress-free installation—smart prep means peace of mind from day one.
Installation Workflow Overview: From Start to Finish
Installing a garage door is a step-by-step process built around precision, safety, and reliable results. Each phase comes with its own checklist—skip one, and you’re likely to face time-consuming fixes later.
Every installation step is designed for quality and peace of mind.
If you ever feel uncertain, our team at Ahura Garage Doors is just a call away—your local Cedar Park experts ready to help or provide guidance. For those wanting deep dives, our linked sub-pages offer full walkthrough videos and clear, remote support.
Step 1: Assembling Door Panels
Start by laying out your door panels in order—bottom to top.
- Stack panels: Begin at floor level, stacking from the bottom up
- Level each panel: Use a magnetic level to check for straight alignment
- Secure hinges and handles: Attach as you go to maintain panel stability
A misaligned panel can cause years of trouble. Take extra minutes for perfect alignment before moving forward.
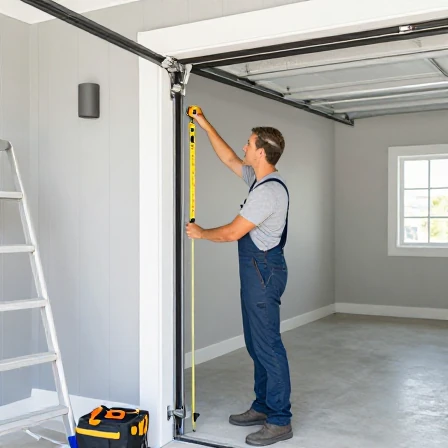
Step 2: Installing Tracks and Hardware
Position the vertical tracks on each side of the opening and ensure they’re plumb.
- Set vertical tracks using your level for true vertical placement
- Secure curved and horizontal tracks to the ceiling joists with durable brackets
- Check for binding: Ensure tracks are parallel and panels move smoothly
Binding or crooked tracks? Adjust before progressing—small errors multiply later.
Step 3: Adding Rollers and Hinges
Insert rollers into the panel edges and slide panels into their tracks.
- Insert nylon rollers: Typically 2″ rollers, 10-12 per standard door
- Apply garage door lubricant to all contact points
- Tighten bolts and fasteners: Don’t over-torque—clutch settings on drills help here
Tip: Lubrication maintains a quiet, long-lasting door—skip it and you’ll hear the difference.
Step 4: Managing Spring Systems
Here’s where safety climbs to its peak: torsion and extension springs are under high tension.
- Use winding bars—never screwdrivers—for torsion springs
- Double-check all clamps and safety gear before touching springs
- Pro tip: If you’re unsure or see damage, pause and call Ahura. Spring errors can cause severe injury.
Nationwide data shows professional installation is preferred for springs—risk just isn’t worth it.
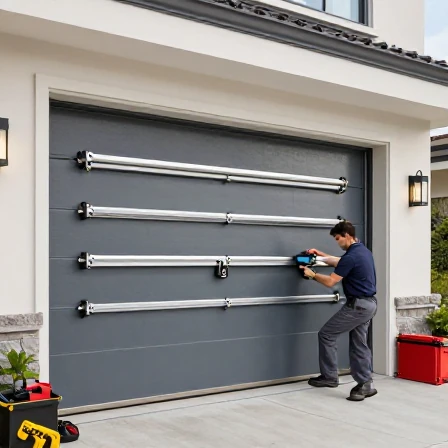
Step 5: Lifting, Testing, and Opener Integration
- Team lift panels into place if doors weigh over 150 lbs—never attempt alone
- Install manual handles and opener arm as the last mechanical steps
- Mount your opener according to manufacturer instructions
- Run first test cycles: Smooth, balanced, and noise-free doors pass the test
“Even one stubborn bolt or off-center bracket shows up here—quality checks pay off.”
Step 6: Final Adjustments and Inspection
- Fine-tune spring tension for perfect balance
- Inspect all fasteners—nothing should wiggle
- Check weatherstripping, sensors, and friction points for signs of trouble
Quiet, balanced, secure—now you’re ready for daily life.
A methodical installation means fewer surprises and maximum reliability. Remember, with each completed step, you’re building a safer home—and our Ahura team is always ready to step in if you need expert hands.
Common Pitfalls, Pro Tips, and Safety Reminders
Garage door installation combines muscle, precision, and safety know-how. Even seasoned DIYers face challenges—one wrong step can lead to doors sticking, noisy operation, or safety risks.
Picture this: A slightly misaligned track causes a new garage door to bind, creak, and wear out twice as fast. In Cedar Park, we’ve seen this simple slip-up cut a door’s life in half.
Mistakes to Avoid
Avoid the most common headaches with these critical reminders:
- Misaligned tracks or out-of-level panels – Small errors here quickly cause doors to jam or wear out.
- Skipping essential checks—like lubricating rollers and checking all fasteners—means noisy operation and frequent repairs.
- Trusting inferior tools: Underpowered drills or worn sockets increase the risk of stripped bolts or loose hardware.
- Ignoring PPE, especially gloves and safety glasses, which are must-haves around springs and cables.
“A $15 magnetic level can save you a $500 repair bill down the road.” This is the real, everyday difference smart prep makes.
Pro Techniques for Best Results
Professionals at Ahura Garage Doors rely on routines homeowners can copy for smoother, longer-lasting installs:
- Always double-check panel alignment and track plumb with a magnetic level.
- Lubricate all moving parts—including hinges, rollers, and springs—using a high-quality garage door lubricant, not household oil.
- Tighten every fastener, then double-check before finishing each step.
- Upgrade to quieter nylon rollers or heavy-duty hinges for longer service in the Texas heat.
Routine tune-ups—just five minutes every three months—can add years to your door’s life.
When & Why to Call a Professional
Some jobs are better left to trained pros, especially:
- Torsion spring installation or adjustment (serious injury risk—these springs pack a punch of up to 150 pounds of torque)
- Older, custom, or unusually heavy doors
- Unclear instructions or signs of damaged framing/cables
Working with heavy panels and high-tension parts isn’t just tricky—it can be genuinely dangerous. “Smart homeowners call for backup before a minor risk becomes a major problem.”
Every tip on this page comes straight from years spent fixing and replacing doors in Cedar Park homes. When in doubt, call Ahura Garage Doors—our friendly team is ready to help you keep your garage safe, quiet, and reliable for years to come.
Conclusion
With the right tools and a well-matched installation kit, your garage door project becomes a smart investment—delivering safety, lasting performance, and total peace of mind from day one.
Equipping yourself like a pro means more than just preventing headaches; it protects your home and your loved ones while adding value you’ll notice every time your door glides open smoothly.
—
Key Actionable Takeaways:
- Prioritize high-quality tools and safety gear—never settle for less when your safety and door longevity are on the line.
- Double-check all measurements and workspace prep to set a strong foundation you can trust.
- Choose an installation kit that matches your door and needs, streamlining the process and slashing wasted time.
- Carefully follow each install step—no shortcuts, especially around springs and heavy panels.
- If you hit a snag, call Ahura Garage Doors for local expertise—protect your home and your investment.
—
Next Steps You Can Take Right Now:
- Walk through your garage and jot down any missing tools or safety gear.
- Snap a few clear measurements of your doorway to confirm kit sizing.
- Schedule a free consult with Ahura Garage Doors for custom-fit advice or safe, affordable pro installation.
- Share this guide with a neighbor—build a safer, stronger Cedar Park community together!
—
Every garage door we install is a promise: expert service, reliable results, and your safety first.
Choose confidence. Build with care. And remember—every job goes smoother when you have your Garage Door Experts, Always at Your Service.
For ladder safety and personal protective equipment recommendations during garage door installation, review standards provided by the Occupational Safety and Health Administration (OSHA).
FAQs
Essential tools include a tape measure, magnetic level, power drill, socket set, locking pliers, ladder, winding bars, and safety gear like gloves and ANSI-rated glasses.
Yes. Garage door installation kits simplify the process by bundling compatible rollers, hinges, brackets, fasteners, and hardware into one complete package.
DIY installation is possible for experienced homeowners, but spring systems and heavy panels can be dangerous without proper training and safety equipment.
Most standard garage door installations take between 4–8 hours depending on door size, spring system complexity, and experience level.
Leather gloves, ANSI-rated safety glasses, non-slip footwear, and sturdy ladders are strongly recommended during garage door installation projects.
Garage Doors
Ahura brothers services LLC
Your Trusted Garage Door Experts in Austin Texas
